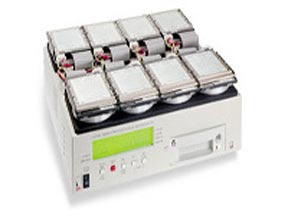
Hard Disk Cloning
How To Clone Your Hard Drive
 Cloning of drives may sound complex and may discourage a lot of people from trying. It is difficult in a way, that it requires the user to deal with both hardware and software. However, there’s a huge advantage to cloning. Diy computer repairs shows you how and why. It is not too difficult to understand as long as you have some foundation in hardware.
Why clone when you can format your hard disk?
You may be a pro and you can perform formatting and installation of your OS without even looking at the screen. However, you will end up re-installing every single program one by one and not to mention the amount of updates and drivers that you are required to download and install. If you purchased a computer that comes pre-installed with certain software with a key that you have lost. It is impossible to get back that program, unless you purchase a copy of it. Also, cloning your drive is also going come in handy if you run out of space in your existing hard disk. For example, you had a 80 Gig drive which is full, All you need to do is to buy another larger drive, say 250 Gig for example. Do the cloning process and now you have all your files and programs and updates with more extra space.
1) Setup your harddisks.
If you are using IDE drives, you will need to hook the drives together in one ribbon with one being a master and the other a slave. Be sure you set the DIP switches correctly. DIP switches are also known as Jumper settings which is a set of pins between the IDE pins on the left and the four power pins on the right. Usually, there is a diagram in the form of sticker or it would be engraved on the harddisk itself. This instructions will tell you how to configure the drives correctly. To make things easy, and if you have enough jumpers, it is recommended to set it to cable select or CS for short.
If you are using a Sata drive, it is a lot easier, all you need to do is hook up one extra harddisk to your motherboard and connect the power.
If you are using a laptop, get an external USB 2.0 casing and insert the new hardisk into it. Then connect it to the laptop via USB.
2) Install your cloning software
You can choose any clone software of your choice and all you need to do is to choose the source and destination pointing to each drives to being the cloning process. Go do something else as cloning takes a long time to complete. The best time to do cloning is before you go to sleep or knock off. Just leave it to be and check on it tomorrow.
Here’s some free cloning software to choose from;
That’s it, your system is cloned, Simply take out your old drive and hook up your new drive and you can work as normal.
3 Comments Already
Leave a Reply
You must be logged in to post a comment.
excellent article, well written and informative.